Ransomware Protection
Ransomware locks your computer or encrypts your files, holding them ransom until you pay a fee to the cybercriminals who hold them hostage.
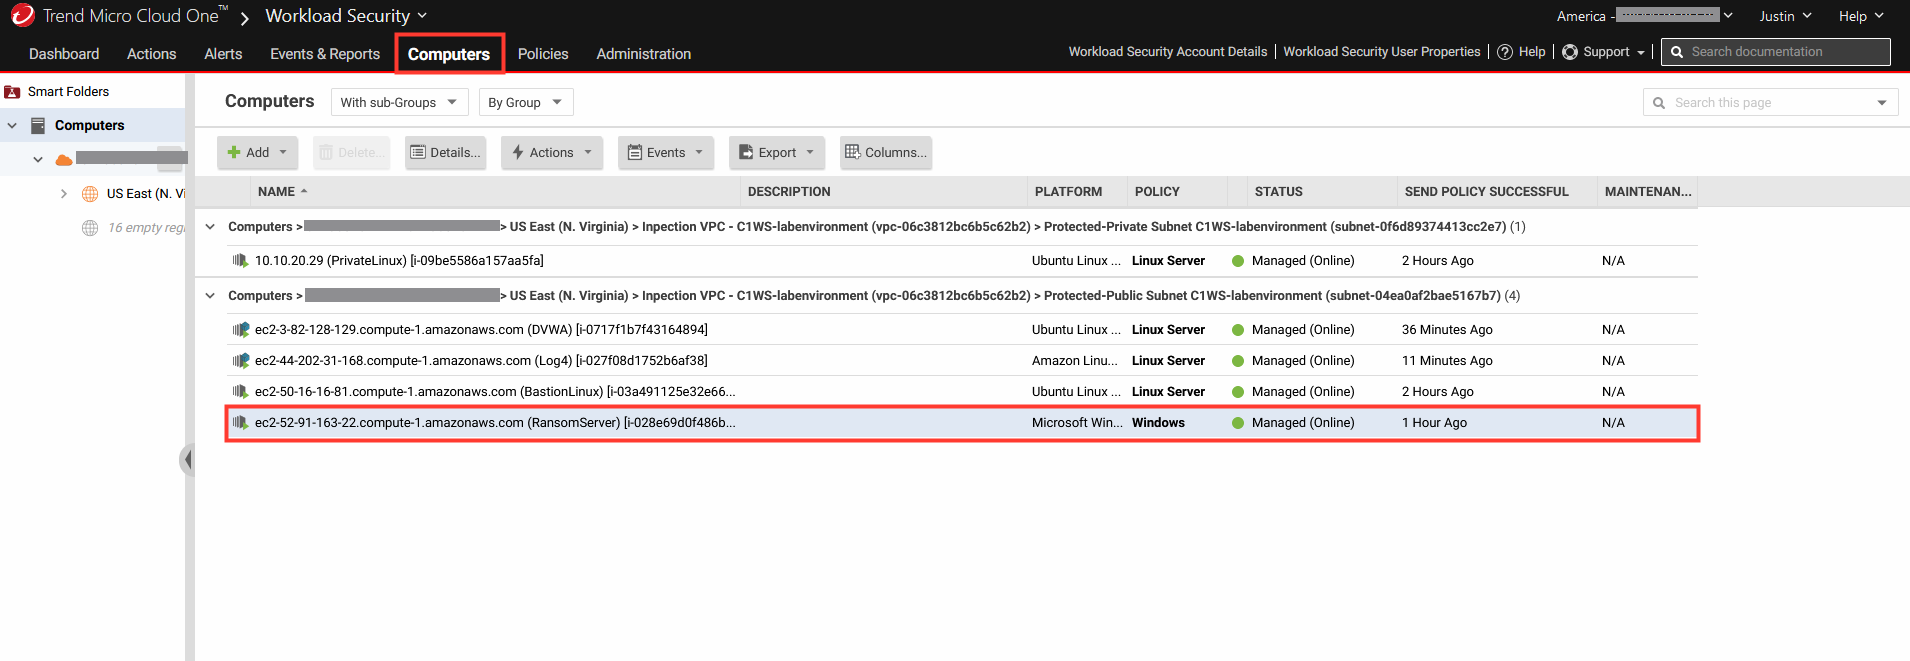
1. Navigate to Cloud One - Workload Security.
- Click Computers.
- Select the computer named ransomserver to open the policy details.
- Select Anti-Malware.
- Configuration: On.
- Uncheck the inherited box under real-time scan.
- Schedule: Every Day All Day.
- Malware Scan Configuration: Default Real-Time Scan Configuration
- Click Save.

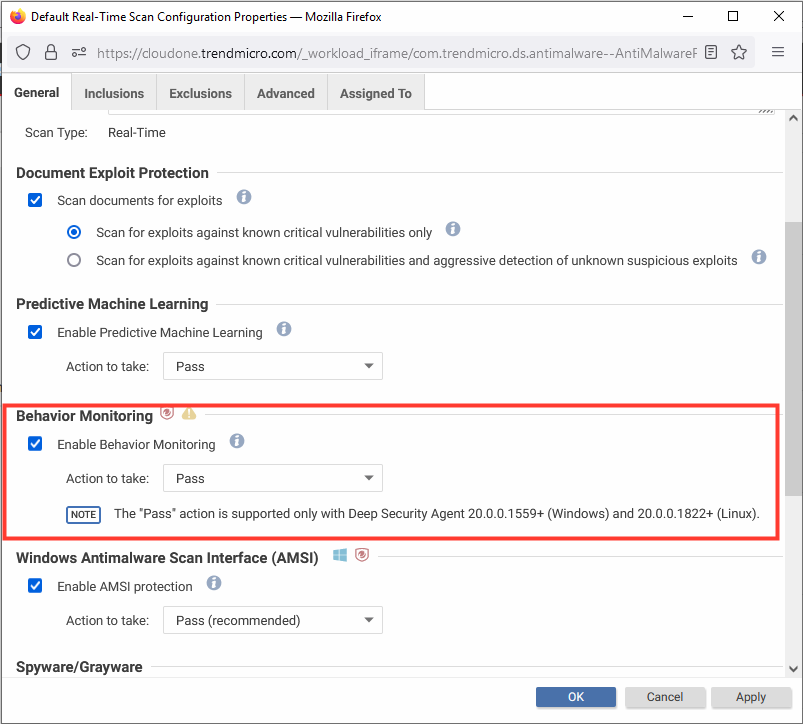
1.1 Edit the Real-time scan configuration
- Click Edit next to the scan configuration to open advanced settings.
- Under Predictive Machine Learning.
- Action to take: Pass.
- Under Behavior Monitoring.
- Action to take: Pass.
- Click Okay.
- Click Save.

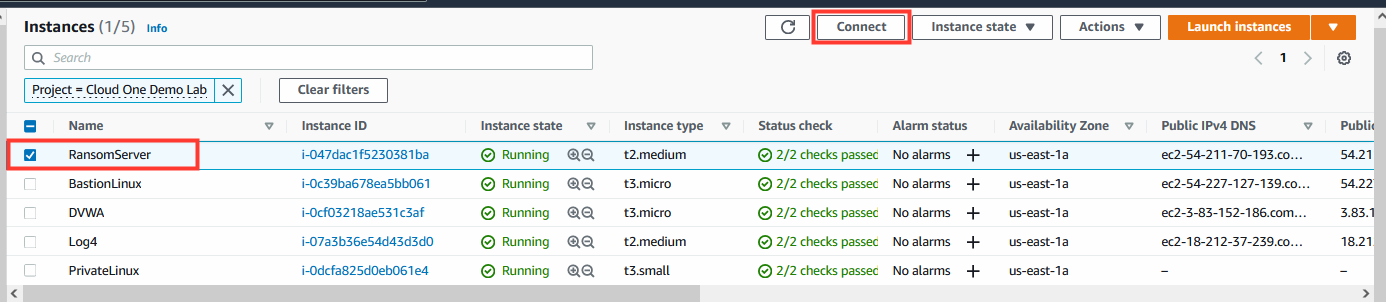
2. In the AWS console, navigate to AWS EC2.
- Select the instance named: RansomServer.
- Click on Connect.
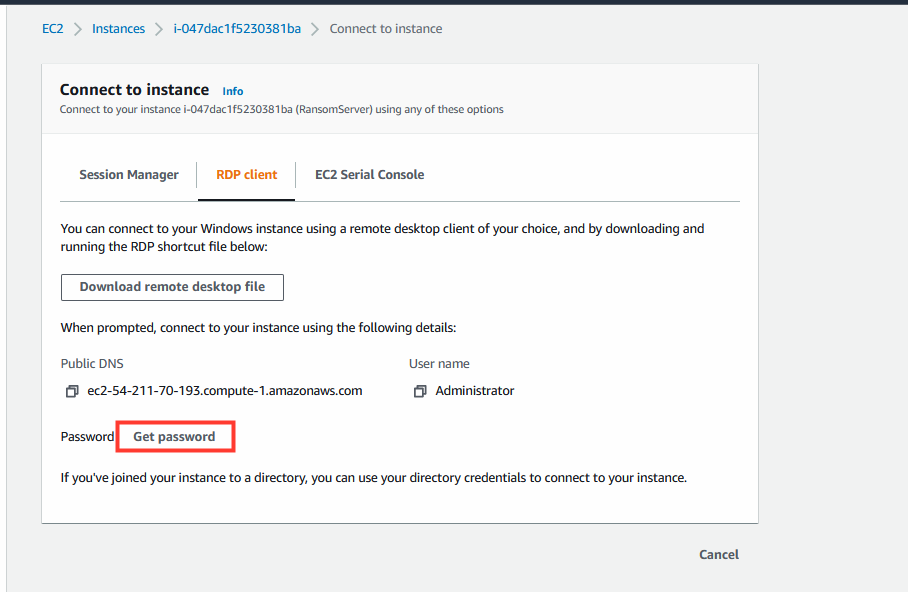
- Under RDP client tab.
- Click Get password.
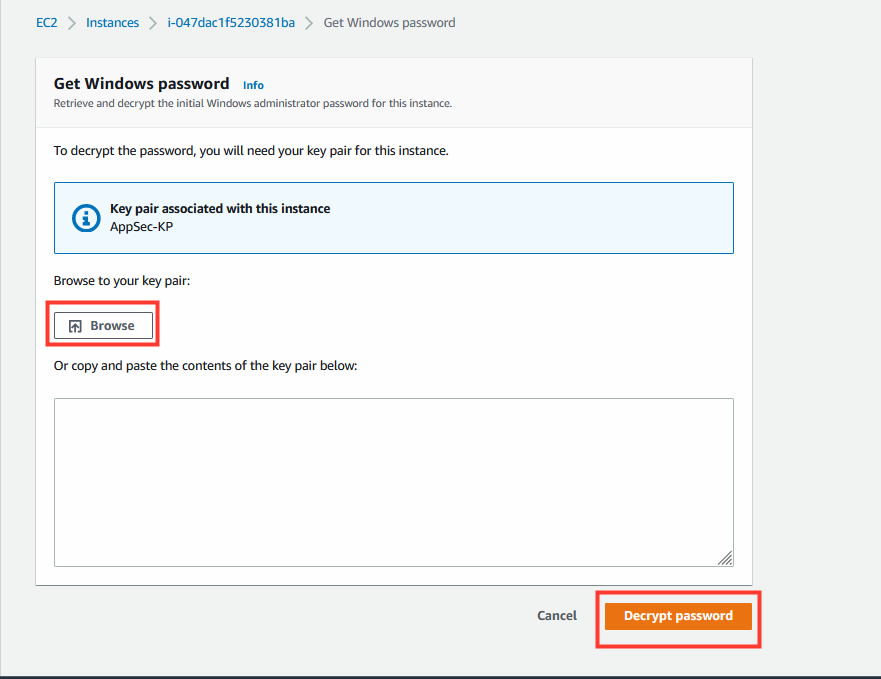
- Click Browse and select the keypair that we created in the initial step of the lab. We recommend the name “modernization_workshop”, but you may have created a keypair with a different name.
- Click Decrypt password.
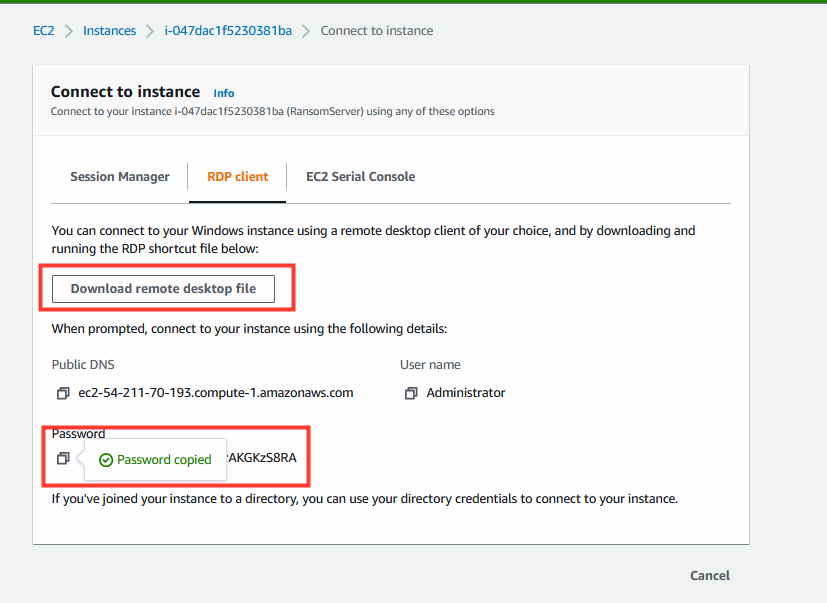
- Copy the password and Download the remote desktop file.
- Run the RDP client and provided the password.
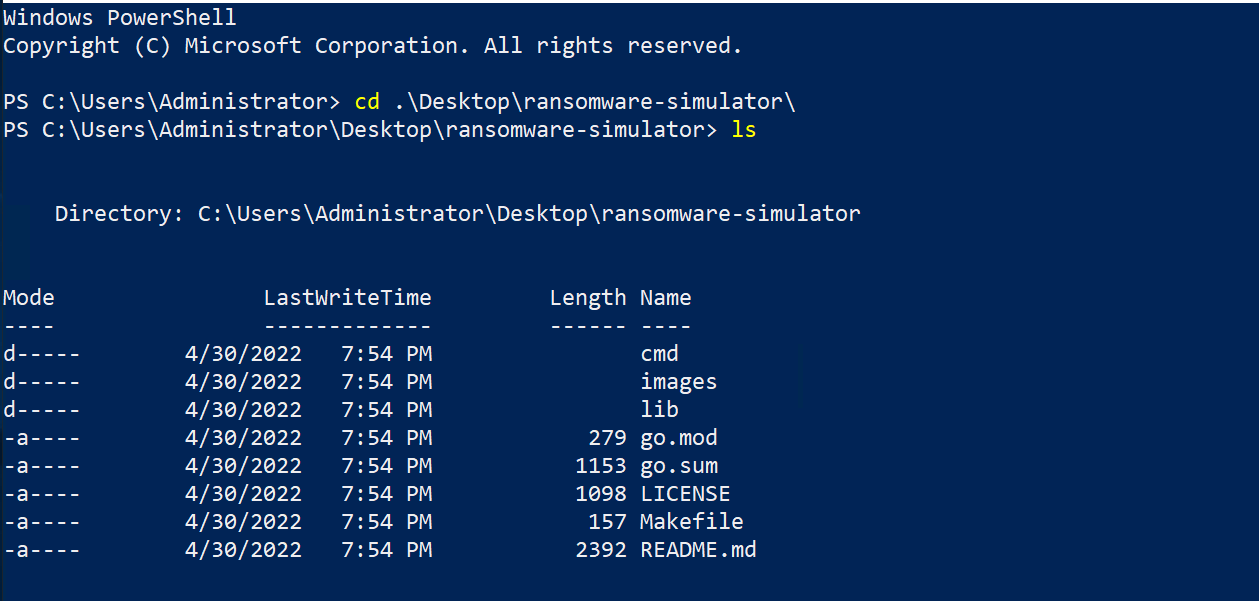
3. In the RDP Client, open a powershell command prompt window.
- Run the following commands:
cd .\Desktop\ransomware-simulator
make -f .\Makefile

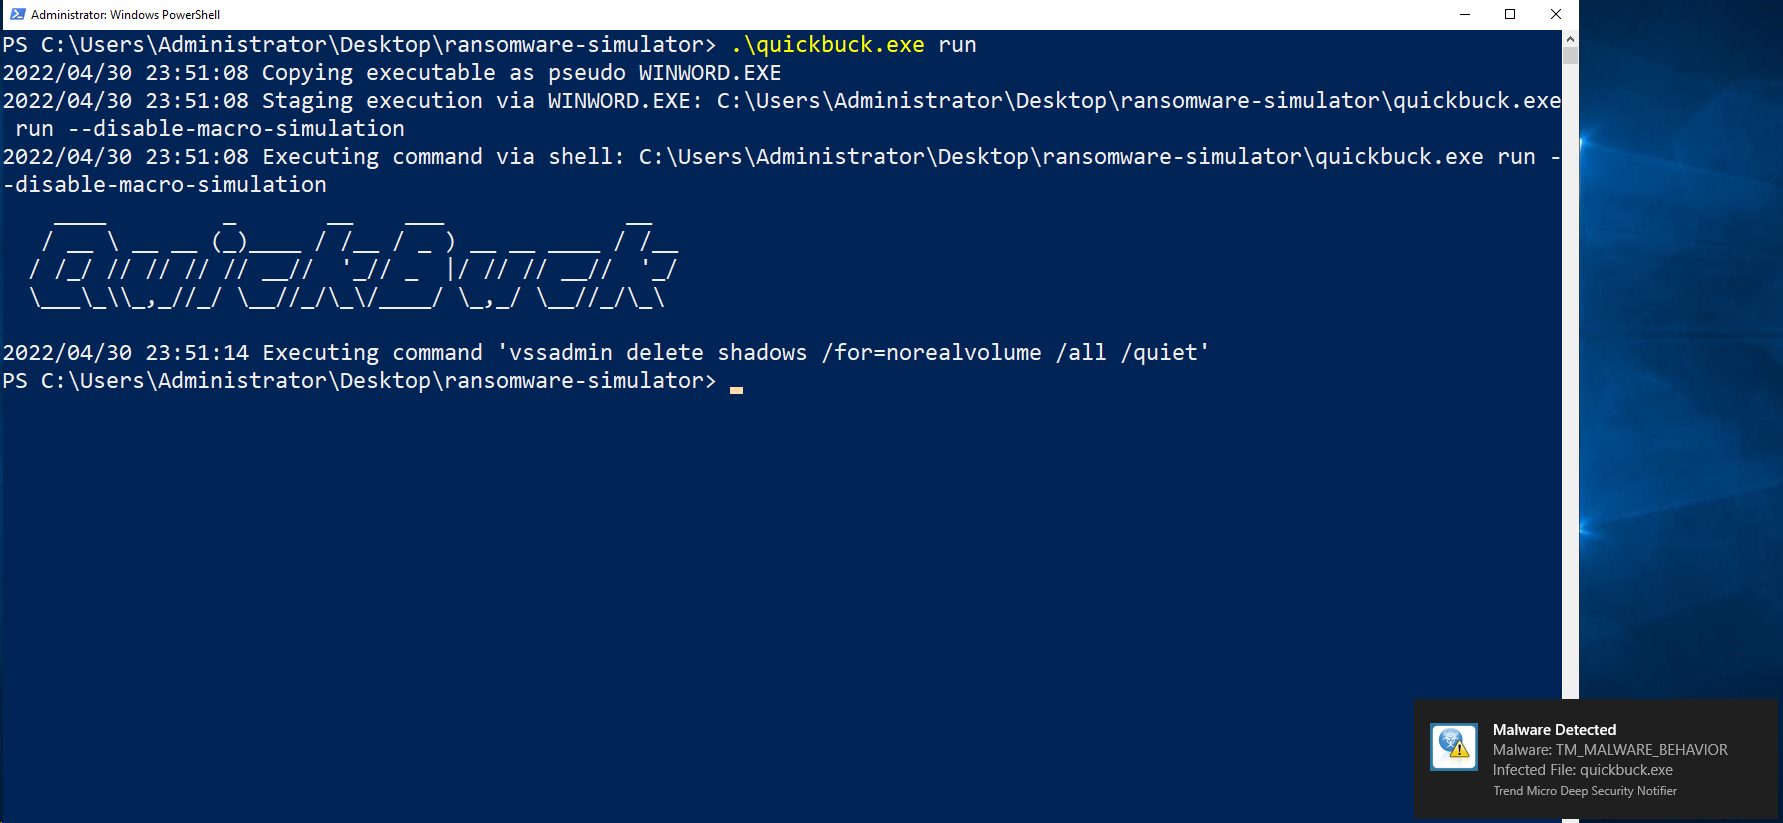
4. Run the quickbuck.exe file.
- Run the following commands and leave the shell session alive:
.\quickbuck.exe run
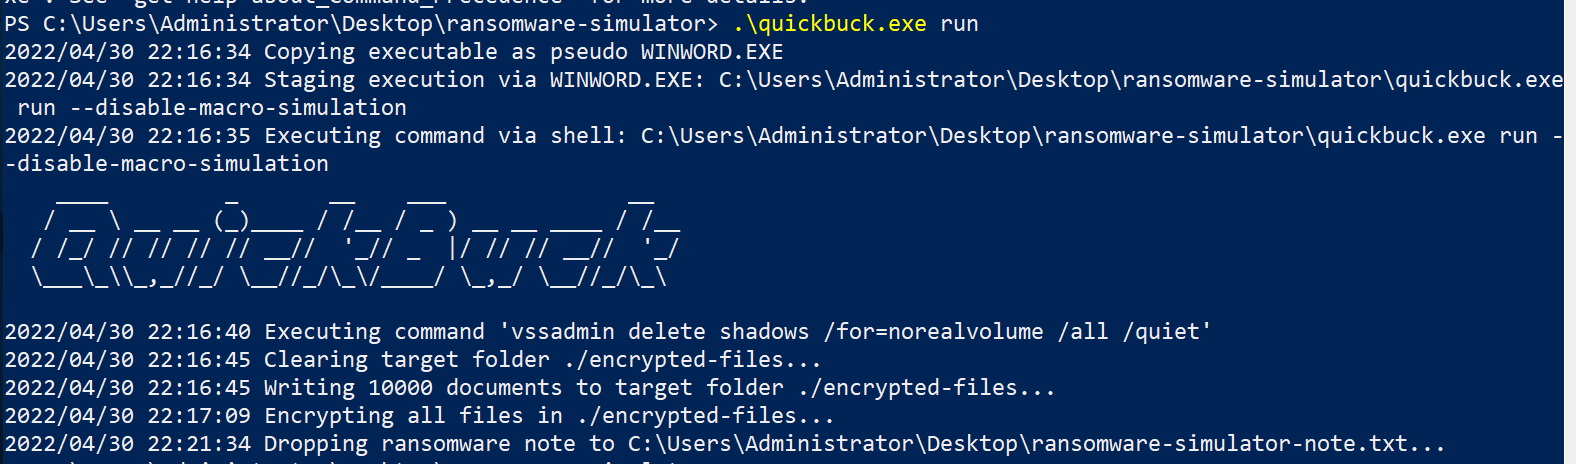
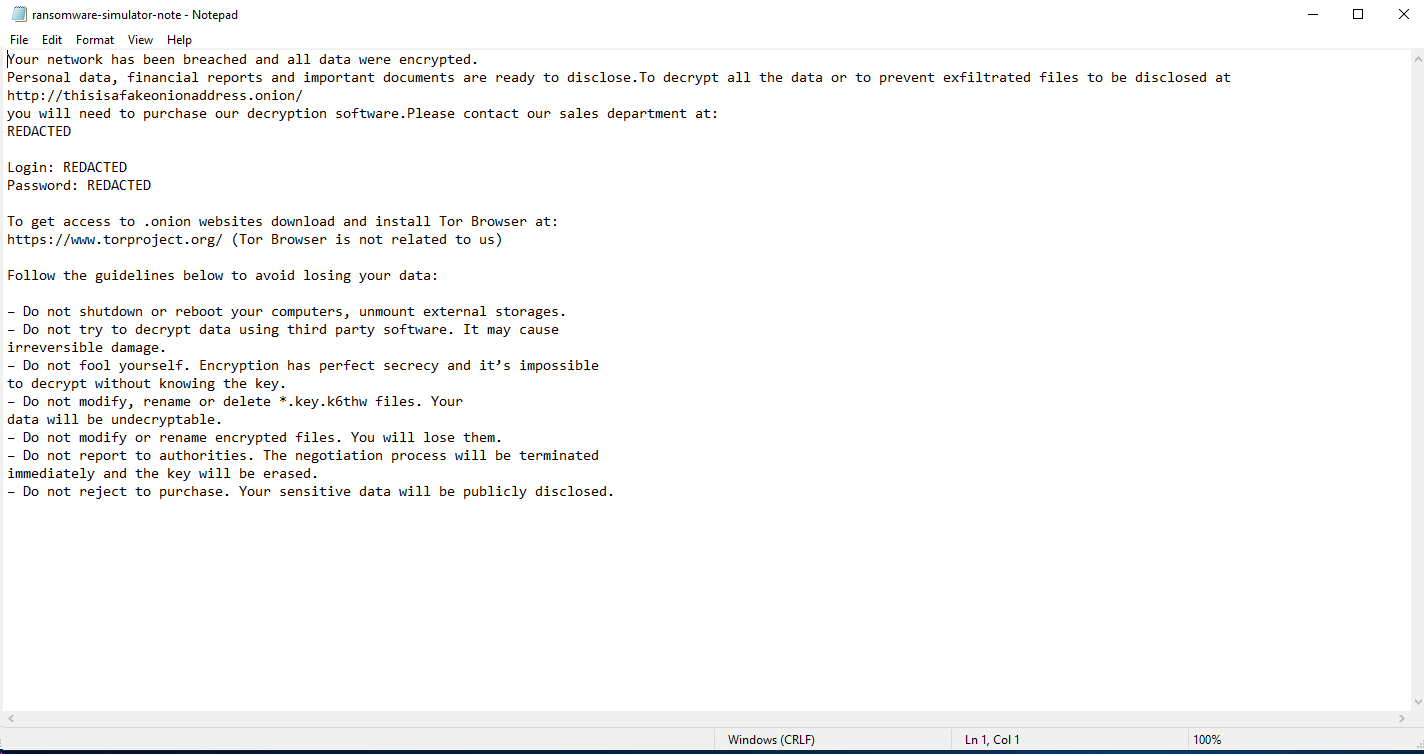
After the executable finishes a note is dropped on the desktop of the server.
5. Return to the Cloud One - Workload Security console.
- Click Computers.
- Select the computer named ransomserver to open the policy details.
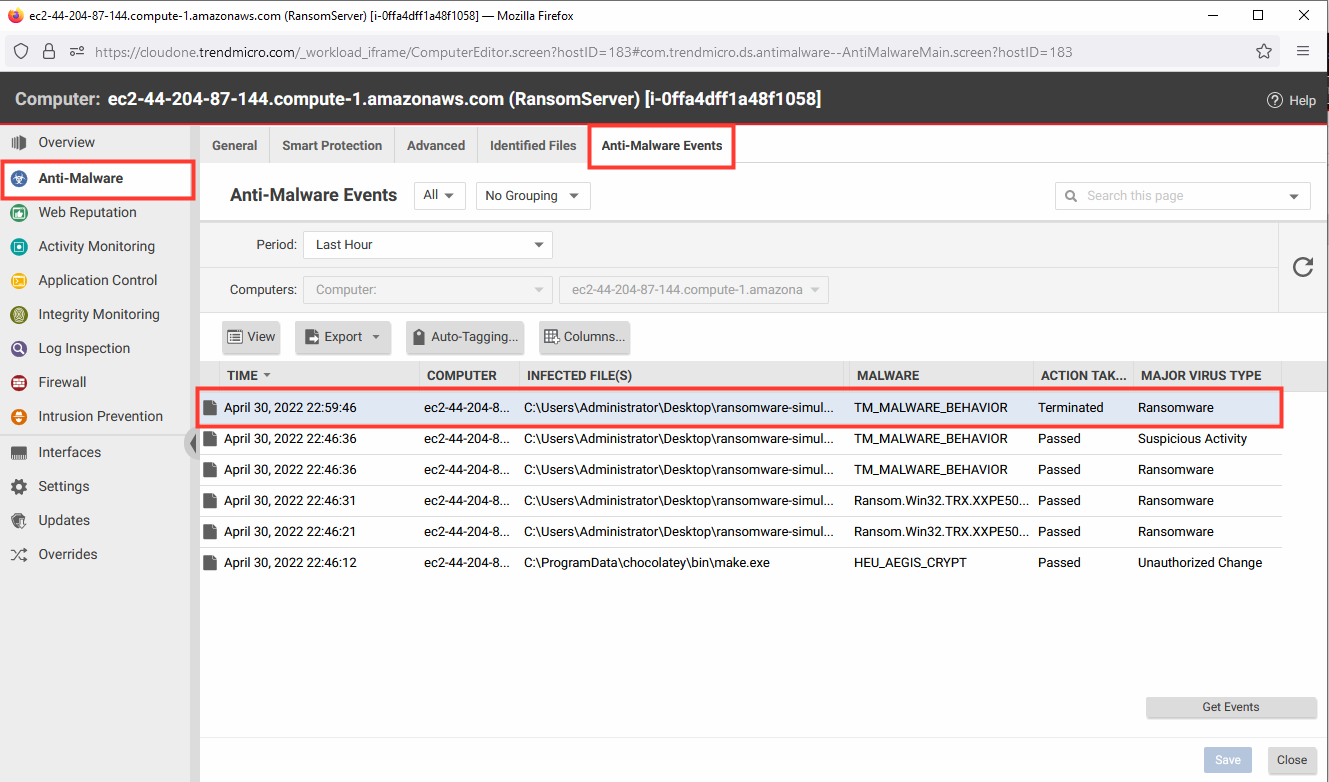
- Select Anti-Malware.
- Select the Anti-Malware events tab.
- Click Get events.

6. Enable Behavior Monitoring to defend against Ransomware attacks.
- Under the Computers tab, select the machine named: Ransomserver.
- Select Anti-Malware.
- Next to Default Real-time Scan Configuration, Click Edit.
- Under Behavior Monitoring.
- Action to take: ActiveAction.
- Click Okay.
- Click Save.


7. In the RDP Client, return to powershell command prompt window.
Run the following commands to re-run the simulation attack:
Remove-Item -LiteralPath "encrypted-files" -Force -Recurse
./quickbuck.exe run